Selling digital products has become a very popular business venture. With the right tools and platforms, entrepreneurs can easily showcase and sell their digital creations to a wide audience using Showit and Shopify.
In this blog post, we will show you the process of integrating Showit with Shopify Starter. By combining these two platforms, you can create a visually stunning website and effortlessly sell your digital products to customers worldwide!
Disclosure: This post may contain affiliate links, which means I may receive a commission if you click a link and purchase something.
Understanding Showit and Shopify Standard
Showit
Showit is a user-friendly website builder that allows you to create visually appealing and customizable websites without any coding knowledge. It offers a drag-and-drop interface, enabling you to design stunning web pages with ease.
Click here if you want to learn Showit like a pro!
Shopify Starter
Shopify is a robust e-commerce platform that lets businesses sell products online. They offer a Starter Plan that allows you to place “buy buttons” on your own website using embed codes.
The checkout process is handled in a separate secure pop-up window that is powered by Shopify.
Creating Your Showit Website
- Sign up for Showit: Visit Showit and sign up for an account. You can start with a free trial or choose a subscription plan that works for what you need.
- Design your website: You can either utilize Showit’s intuitive drag-and-drop editor to design your own website or take advantage of website templates to customize and make your own.
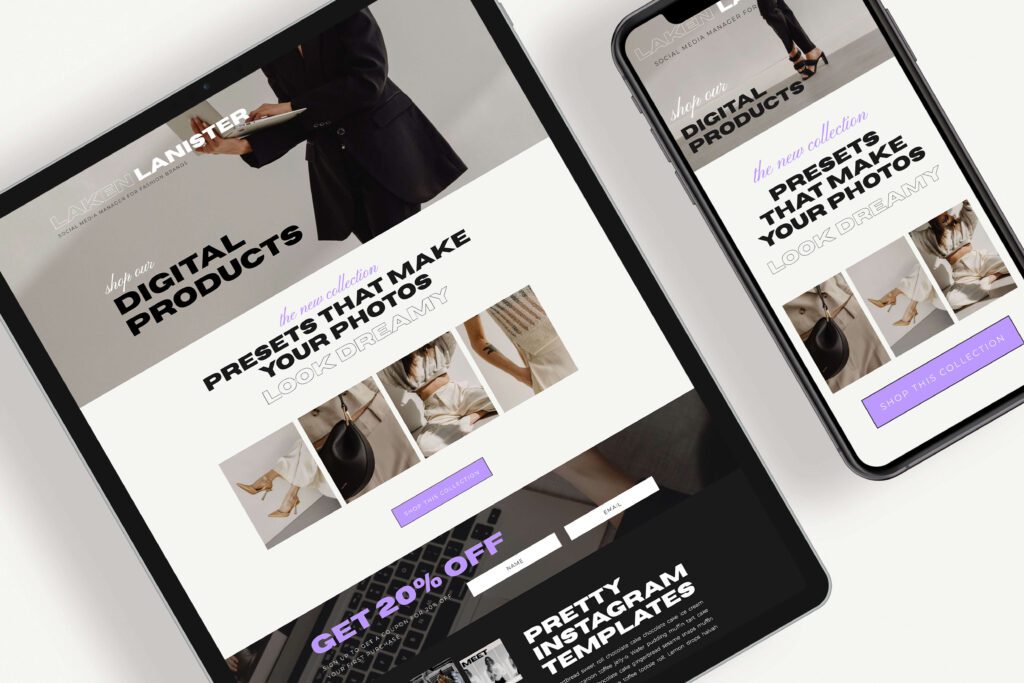
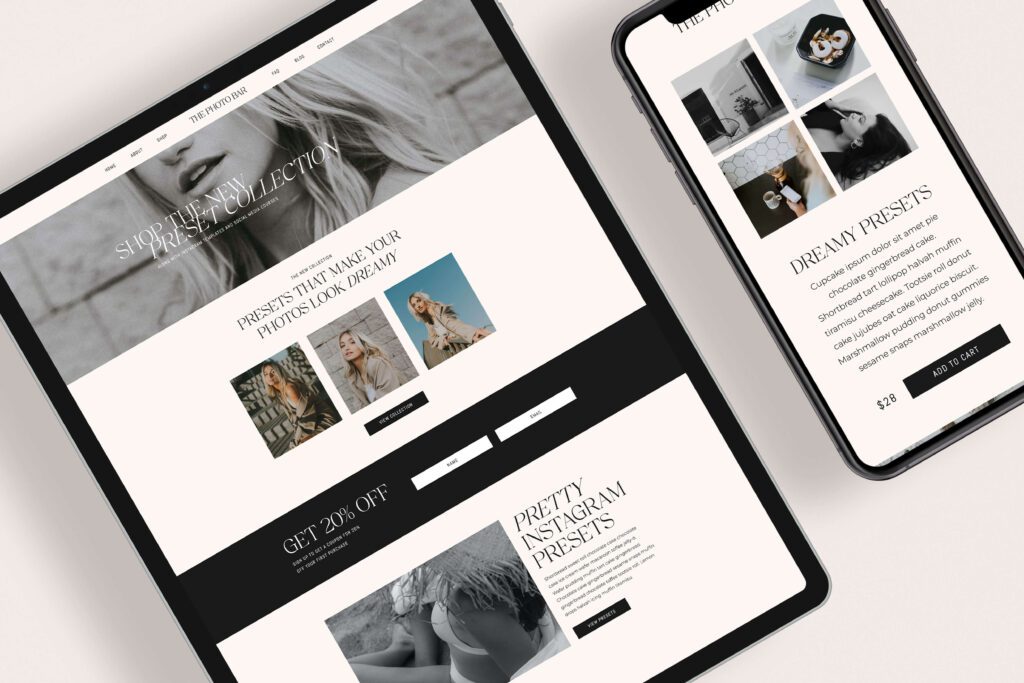
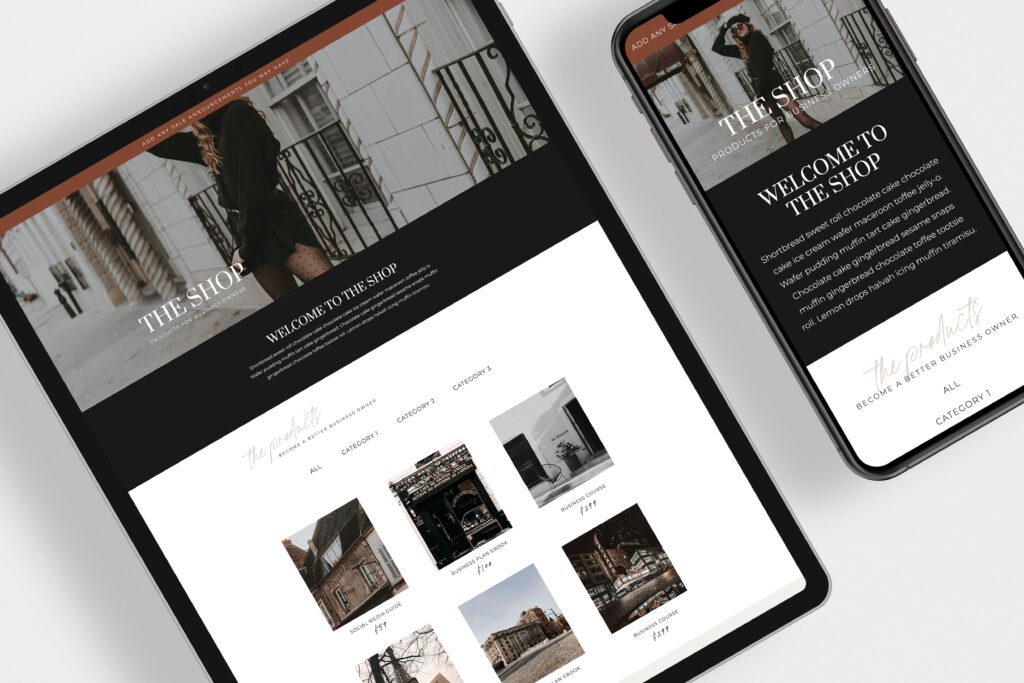
- Create product pages: Within Showit, you can create dedicated pages to showcase your digital products. Design these pages to highlight the unique features and benefits of each product. Browse our pre-made online shops that include product pages.
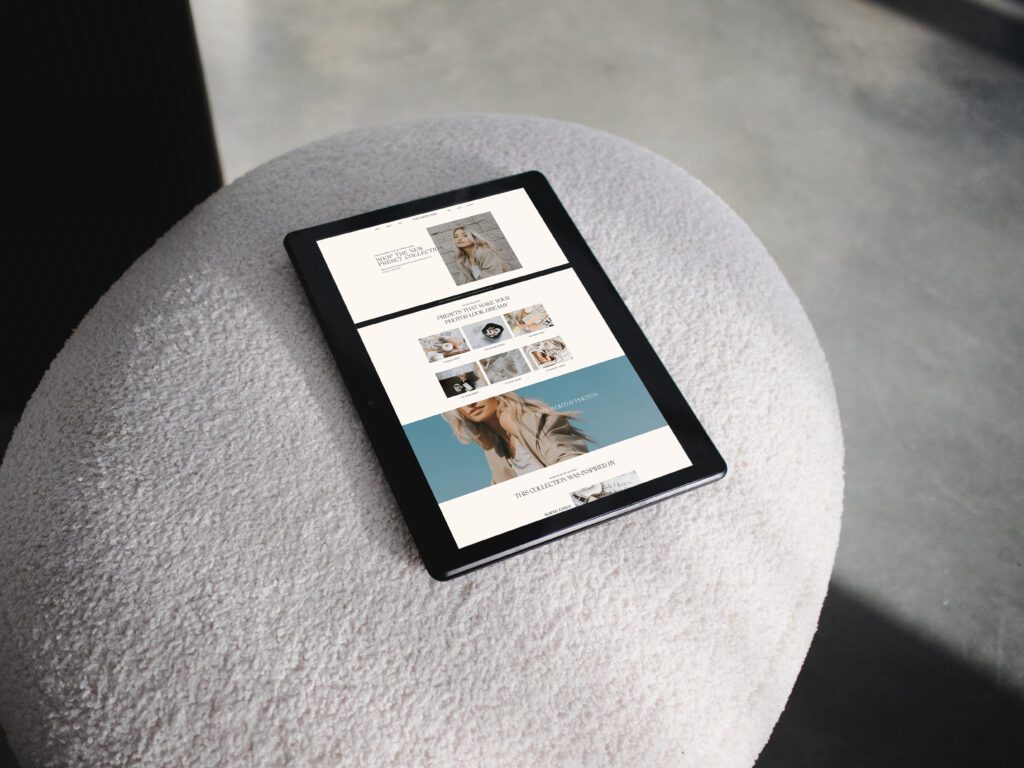
- Optimize for mobile: Showit automatically generates a mobile-friendly version of your website. However, it’s essential to review and optimize the mobile layout to ensure a seamless user experience on smartphones and tablets.
Integrating Showit with Shopify
Once you have built your Showit website and product pages, it’s time to integrate it with Shopify Starter for a seamless e-commerce experience.
- Sign up for Shopify: Visit Shopify and sign up for a Starter account. Provide the necessary details to set up your store.
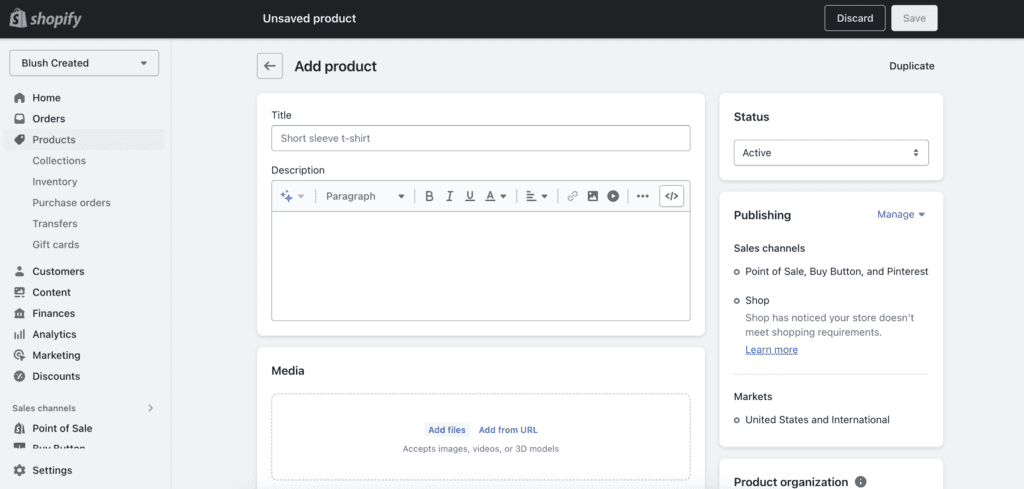
- Set up your digital products: In the Shopify admin panel, navigate to the “Products” section and create product listings for your digital products. Include product title, quick description, price, image, and upload the actual digital product files. You don’t need a long description or tons of images since this info will be on the actual product pages in Showit. Make sure you mark the product as a “digital product”.
- Connect Showit and Shopify: For each product, you’re going to use “buy buttons” and embed them on the product pages in Showit.
Embedding Buy Buttons on Your Showit Website
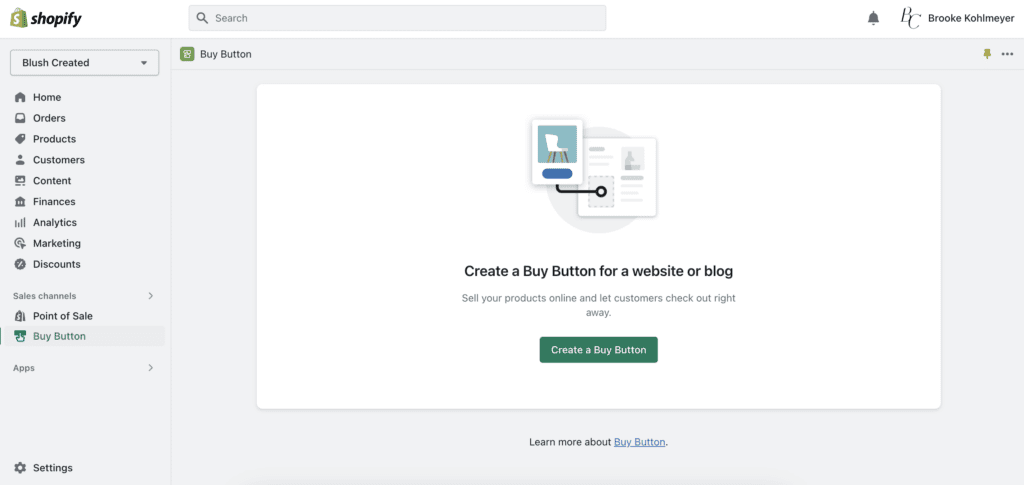
In shopify…
- click “buy button”, click “create a buy button”, click “product buy button”
- select the product you are creating a buy button for
- edit the settings to design the look of the buy button
- once you’ve edited the look of the button, click next
- copy the code
Then in Showit…
- click on “embed code” which will bring up a gray box
- click on the gray box
- click “embed code” then “custom code” on the right side
- paste the code you copied from Shopify
- move the button around to where you want on the product page
TIP: click “reset zoom” to view the button in the actual size
Testing and Launching Your Store
Before going live, thoroughly test your online store to ensure everything works smoothly and that your digital products are being delivered correctly.
TIP: add customer testimonials and reviews about your products!
Want to learn more about launching a template shop and earning passive income? Check out the Passive Passion Project course! Learn more here.

Integrating Showit with Shopify offers a great solution for selling digital products. By combining Showit’s design flexibility with Shopify’s e-commerce functionality, you can create a visually stunning website that seamlessly showcases and sells your digital products.
Check out our pre-made online shop templates that you can use to sell your digital products. Click on each template below to learn more and view its demo pages.